
https://ui.toast.com/tui-editor
TOAST UI :: Make Your Web Delicious!
TOAST UI is an open-source JavaScript UI library maintained by NHN Cloud.
ui.toast.com
API/Examples 클릭
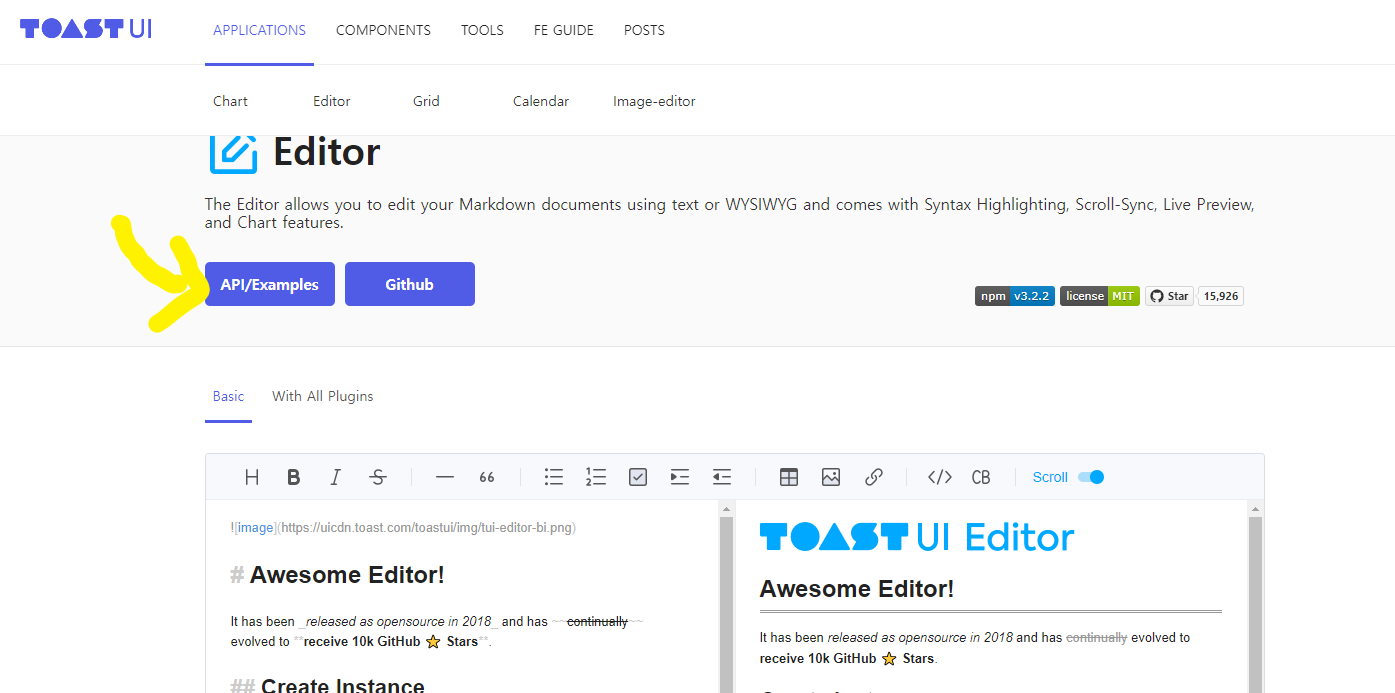
Examples 들어가면 JavaScript / HTML 코드 있음

github 참고
...
<head>
  ...
  <!-- Editor's Style -->
  <link rel="stylesheet" href="https://uicdn.toast.com/editor/latest/toastui-editor.min.css" />
</head>
......
<body>
...
<script src="https://uicdn.toast.com/editor/latest/toastui-editor-all.min.js"></script>
</body>
...https://github.com/nhn/tui.editor/blob/master/docs/en/getting-started.md
GitHub - nhn/tui.editor: 🍞📝 Markdown WYSIWYG Editor. GFM Standard + Chart & UML Extensible.
🍞📝 Markdown WYSIWYG Editor. GFM Standard + Chart & UML Extensible. - GitHub - nhn/tui.editor: 🍞📝 Markdown WYSIWYG Editor. GFM Standard + Chart & UML Extensible.
github.com
사용가능한 기본옵션
- height: 문자열 또는 자동의 높이 ex) 300px | auto
- initialEditType: 표시할 초기 유형 markdown | wysiwyg
- initialValue: 초기 값. 마크다운 문자열 설정
- previewStyle: Markdown 모드의 미리보기 스타일 tab | vertical
- usageStatistics: 호스트 이름을 알려주세요 . 우리는 귀하가 편집기를 어떻게 사용하고 있는지 알고 싶습니다. 비활성화할 수 있습니다. true | false

<!DOCTYPE html>
<html lang="ko">
<head>
    <meta charset="UTF-8">
    <meta http-equiv="X-UA-Compatible" content="IE=edge">
    <meta name="viewport" content="width=device-width, initial-scale=1.0">
    <title>Document</title>
    <!-- TOAST UI Editor CDN URL(CSS)-->
    <link rel="stylesheet" href="https://cdnjs.cloudflare.com/ajax/libs/codemirror/5.48.4/codemirror.min.css"/>
    <link rel="stylesheet" href="https://uicdn.toast.com/editor/latest/toastui-editor.min.css" />
    <style>
        button {
            padding: 10px 30px;
            margin-top: 10px;
        }
    </style>
</head>
<body>
    <h1>TOAST UI TEST</h1>

    <!-- TOAST UI Editor가 들어갈 div태그 -->
    <div id="editor"></div>

    <!-- 에디터 내용을 받을 button -->
    <button onclick="see1()">getHTML</button>
    <button onclick="see2()">getMarkdown</button>

    <!-- TOAST UI Editor CDN URL(JS) -->
    <script src="https://uicdn.toast.com/editor/latest/toastui-editor-all.min.js"></script>

    <!-- TOAST UI Editor 생성 JavaScript 코드 -->
    <script>
        const editor = new toastui.Editor({
            el: document.querySelector('#editor'),
            previewStyle: 'vertical',
            height: '500px',
            initialValue: '안녕하세요. METASTAR입니다.',
        });

        // editor.getHtml()을 사용해서 에디터 내용 받아오기
        see1 = function() {
            console.log(editor.getHTML());
        }
        see2 = function() {
            console.log(editor.getMarkdown());
        }
    </script>
</body>
</html>
툴바 커스터마이징
https://github.com/nhn/tui.editor/blob/master/docs/ko/toolbar.md
GitHub - nhn/tui.editor: 🍞📝 Markdown WYSIWYG Editor. GFM Standard + Chart & UML Extensible.
🍞📝 Markdown WYSIWYG Editor. GFM Standard + Chart & UML Extensible. - GitHub - nhn/tui.editor: 🍞📝 Markdown WYSIWYG Editor. GFM Standard + Chart & UML Extensible.
github.com
1. 툴바 옵션
- 에디터는 bold, italic, strike 등 총 16가지의 툴바를 기본으로 제공한다.
- 별도의 옵션을 지정하지 않았을 경우 기본 툴바 옵션은 아래와 같다.
- 툴바 그룹은 | 기호로 구분되어 렌더링 된다.
- 만약 기본 툴바의 구성을 변경하고 싶다면 에디터의 toolbarItems 옵션을 지정하여 변경할 수 있다.
<script>
const options = {
  // ...
  // 직접 입력하면서 커스터마이징 가능
  // toolbarItems 뻬면 기본적인 툴바 다 사용하는 것
  toolbarItems: [
    ['heading', 'bold', 'italic', 'strike'],
    ['hr', 'quote'],
    ['ul', 'ol', 'task', 'indent', 'outdent'],
    ['table', 'image', 'link'],
    ['code', 'codeblock'],
    ['scrollSync'],
  ],
}
</script>
2. 내장 버튼 요소 커스터마이징
| 이름 | 타입 | 설명 |
| name | string | 툴바 요소의 고유한 이름이며, 필수로 지정해야 한다. |
| tooltip | string | 옵셔널 값이며, 툴바 요소에 마우스를 올렸을 때 보여줄 툴팁 문자열을 정의한다. |
| text | string | 옵셔널 값이며, 툴바 버튼 요소에 보여줄 텍스트가 있는 경우 정의한다. |
| className | string | 옵셔널 값이며, 툴바 요소에 적용할 class를 정의한다. |
| style | Object | 옵셔널 값이며, 툴바 요소에 적용할 style을 정의한다. |
| command | string | 옵셔널 값이며, 툴바 버튼을 클릭했을 때 실행하고 싶은 명령을 지정한다. popup 옵션과는 서로 배타적인 관계이다. |
| popup | PopupOptions | 옵셔널 값이며, 툴바 버튼을 클릭했을 때 팝업을 띄우고 싶은 경우 지정한다. command 옵션과는 서로 배타적인 관계이다. |
3. 툴바 상태 변경
에디터에서는 현재 커서의 위치에 따라 어떤 노드인지 툴바 요소의 스타일로 활성화할 수 있다.
state 목록
아래의 state 값을 사용해야만 툴바 요소의 활성화 상태를 변경할 수 있다.
- heading: 헤딩
- strong: 볼드
- emph: 이탤릭
- strike: 스트라이크
- thematicBreak: 수평 가로줄
- blockQuote: 인용문
- bulletList: 순서가 없는 리스트
- orderedList: 순서가 있는 리스트
- taskList: task 리스트
- table: 테이블
- code: 인라인 코드
- codeBlock: 코드 블럭
(1)
- 먼저 에디터에서 제공하는 툴바 버튼 UI를 그대로 사용하여 커스터마이징하는 방법이 있다.
- 이 방법은 에디터에 내장된 버튼을 툴바 요소를 렌더링하며, 여기서 버튼의 아이콘이나 툴팁, 팝업 동작만 재정의한다.
- 커스터마이징한 툴바 요소의 상태를 변경하고 싶다면 state 옵션을 지정해야 한다.
<style>
.toastui-editor-toolbar-icons.active {
	background-color: yellow;
}
</style><script>
const editor = new Editor({
el: document.querySelector('#editor'),
toolbarItems: [
[{
name: 'myItem',
tooltip: 'myItem',
command: 'bold',
text: '@',
className: 'toastui-editor-toolbar-icons',
style: { backgroundImage: 'none', color: 'red' },
// `strong` 노드에 위치할 경우 툴바 요소에 'active' 클래스가 추가된다.
state: 'strong',
}]
],
// ...
});
</script>
(2)
- 기본 버튼 UI를 사용하지 않고 툴바 요소를 만들고 싶다면 아래처럼 렌더링할 요소를 el 옵션으로 지정해야 한다.
- 이 경우 완전한 DOM 요소를 만들어 옵션으로 지정하는 것이기 때문에 클릭했을 때의 동작이나 style, class를 모두 직접 설정해야 한다.
- 기본 버튼 UI를 사용하지 않고 el 옵션을 사용하여 툴바 요소를 만든 경우, onUpdated 옵션을 지정해야 상태를 변경할 수 있다.
- 에디터 내부에서 커스터마이징한 툴바 요소를 직접 조작하는 것은 한계가 있기 때문에 onUpdated 콜백 옵션을 제공한다.
- onUpdated() 함수는 active, disabled 상태를 나타내는 객체를 매개변수로 전달한다.
<script>
const myCustomEl = document.createElement('span');

myCustomEl.textContent = '😎';
myCustomEl.style = 'cursor: pointer; background: red;'
myCustomEl.addEventListener('click', () => {
  editor.exec('bold');
});

const editor = new Editor({
  el: document.querySelector('#editor'),
  toolbarItems: [
    [{
      name: 'myItem',
      tooltip: 'myItem',
      el: myCustomEl,
      state: 'strong',
      onUpdated({ active, disabled }) {
        if (active) {
          myCustomEl.style.background = 'green';
        } else {
          myCustomEl.style.background = '';
        }
      }
    }]
  ],
  // ...
});
</script>
Examples
https://nhn.github.io/tui.editor/latest/tutorial-example15-customizing-toolbar-buttons
https://nhn.github.io/tui.editor/latest/tutorial-example15-customizing-toolbar-buttons/
nhn.github.io
'etc' 카테고리의 다른 글
| [Linux] 내가 보려고 만든 리눅스 명령어 (1) | 2023.06.18 |
|---|---|
| [Study] 오버라이딩, 오버로딩 / DTO, VO / 접근제어자 / MySQL offset, limit (0) | 2023.05.15 |
| Linux, Ubuntu, wsl (0) | 2023.05.08 |
| MVC 패턴 (0) | 2023.05.08 |
| if문 이쁘게 만들기 (0) | 2023.04.12 |